
Wednesday, May 13, 2009
Wednesday, April 29, 2009
Proper Image Labeling for Clients
Always, I mean ALWAYS, start off every image file name with the yearmonthdate_ followed by the number. For my own personal work I use the date followed by the original file name so I can easily find the RAW file again, however for your clients you will want to renumber them all starting with 0001. Clients tend to get fussy over seeing image breaks. They think you forgot to give them those files when in actuality you deleted them due to poor image quality, eyes closed, etc. I also include a one word description at the end of the file name so they can easily sort through them on their computer.
Here is how the file name should look:
20090429_0001_prep.jpg
20090429_0125_ceremony.jpg
20090429_0450_formals.jpg
TIP 1: Use underscores for information breaks and all lowercase. This is basic computer etiquette in proper file naming.
TIP 2: Image numbering should be consistent. If you only have 99 images, then start your numbering with 01. If you have 10,000 images start with 00001. Since I usually have over 1000, I use a four digit label: 0001.
TIP 3: keep the description short. If it is too long (20090429_0450_familygroupformal.jpg) your image may not read on another computer.
TIP 4: Why start with the year then the month then the day? If you start with the month: 04292009 you will end up with potentially out of order files since 0429 will come up again next year. If you start with the year, your files will never be out of order because 2010 will always come after 2009.
Happy labeling!
Creating Categories for Online Wedding Photo Previews
Now that everyone is shooting like crazy and giving their clients well over 1000-1500 images, think about this: On average it takes a minimum of 1 hour per every 1000 images to look through (and that is for the no lallygagging viewer.) If all the images are lumped into one group it would be very frustrating and time consuming to find the one image they are looking for. This will also hurt your image sales if the client has a hard time locating what they want to purchase. Remember: we all have ADD when it comes to surfing the internet. Here are some helpful categories you may consider placing your image into before you show your clients:
1. Preparations
2. Bridal Portraits
3. Groom Portraits
4. Ceremony
5. Family Portraits
6. Newlyweds
7. Guests
8. Reception
TIP 1: Try to keep each category to under 300 images with the exception of the reception. If the reception is over 800 images think about breaking it up into sub categories like "candids" "guests" "cake-garter-bouquet"
TIP 2: Keep the number of categories to about 8.
TIP 3: Another category that I like to add in is "Photographers Faves." This helps my clients know which images I think are the best ones and it often helps them narrow down their favorites for their album.
My Categories are usually set up like this:
1. Photographers Faves
2. Preparations
3. Ceremony
4. Formals
5. Newlyweds
6. Reception
7. Photo Booth
8. Assistant
Tuesday, April 28, 2009
Portrait Lighting Using Reflectors
Bright sun: too squinty. Under a tree: to dappley. What do you do? No usable shade (because, really, who wants a bunch of dots on their face?) and there is nothing but sun, sun, sun for miles. Diffusion panel to the rescue! Bring along an assistant and create your own shade. You can make your own by going to the art store and buying a 40x40 inch canvas frame (no canvas) and then find yourself some translum diffusion sheeting (only place in town I know of to get the stuff is at the Art Center Student Store in Pasadena.) Cut two pieces to fit on the frame and staple gun it down (one sheet on one side and one on the other.) This will cost you a total of about $15. Okay, seriously just go buy a 5 in 1 disc for 30 bucks.
You will get:
1. translucent (the one you will use most for the above situation)
2. white (for fill light -- great for eyes)
3. black (for negative fill -- to create deeper shadows)
4. gold (to warm up skin tones)
5. silver (to cool down skin tones)
I really only use the translucent and the gold.
You will get:
1. translucent (the one you will use most for the above situation)
2. white (for fill light -- great for eyes)
3. black (for negative fill -- to create deeper shadows)
4. gold (to warm up skin tones)
5. silver (to cool down skin tones)
I really only use the translucent and the gold.
Monday, April 27, 2009
Taking Family Photos at a Wedding

In the old days circa 1980, photographers would take one to two hours to do the family group formal photos. The photographer would set up lights and have several assistants running around making sure everyone in the shot was absolutely perfect. The issue back then was, these were the shots he made most of his money on so it was imperative that the shots were perfect. AND, don't forget, he was shooting film so everyone in the photo had to be looking at him without blinking in at least one shot. Today, I can just swap out a head in Adobe PhotoShop if that person happened to not look their best. Brides and grooms no longer want to take an hour or more for these portraits. They want to get to their guests and their party. Here are some tips to help make the formal portrait session go as smooth as possible.
1. Get a list from the bride BEFORE the wedding. (See below for a sample list)
2. Have the bride and groom select one person from each side (2 people) to help you organize the groups. This person, who should be a bold type "A" person, will be in charge of gathering the groups before the photo is to be taken so they are waiting in the wings ready to go.
3. Position the bride and groom and tell them to stay put.
4. Have family members on either side facing the couple so they are filed in behind each other at a 45 degree angle. This will save you space and make most people look thinner.
5. Never let people put their arms around each other since this will make them look odd.
6. Watch the bride's dress. It does not need to be fanned out but if she wants it to be make sure whoever is standing next to her gets close and shuffles their feet under her dress.
7. Take 6 photos of each grouping to make sure you get a good one.
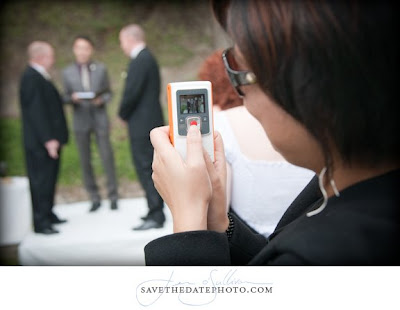
8. Do not allow other photographers (family with cameras) to shoot over your shoulder. If you allow this to happen while you are shooting you will end up with photos where only a few people are looking at you and everyone else is looking at other cameras. If you choose to allow others to shoot, kindly ask them to wait until you tell them it is okay. After you take your photos then direct the group to look at the other person's camera. YOU NEED TO TAKE CHARGE SO PEOPLE KNOW WHO IS IN CHARGE. If you are meek behind the camera, you will need to hire an assistant who is not meek and who can be a loud, bold yet polite director.
9. Start with the largest family grouping first. I often start with a big group photo of both families combined. When everyone is there I have a captive audience to tell them to NOT go wandering off until they are released otherwise they will most likely miss their photo since it will only be about 20 minutes to get through everyone.
10. Try to fit any grandparents in the beginning of the session if they are too old to wait around for 20 minutes.
Formal Grouping Sample List
1. Entire Combined Family (Both Sides)
Bride's Side:
2. Bride and Groom with Bride's Entire Family
3. Bride and Groom with Bride's Immediate Family
4. Bride and Groom with Bride's Parents
5. Bride and Groom with Bride's Siblings
6. Bride and Groom with grandparents
7. Bride and Groom the Smith Family
8. Bride and Groom with the Jones Family
Groom's Side:
9. Bride and Groom with Groom's Entire Family
10. Bride and Groom with Groom's Immediate Family
11. Bride and Groom with Groom's Parents
12. Bride and Groom with Groom's Siblings
13. Bride and Groom with Groom's grandparents
14. Bride and Groom the Thomson Family
15. Bride and Groom with the Connor Family
You get the idea. Make sure you get this list before the day of the wedding so you can rearrange it for the best flow. Print two copies out for the day of the wedding and try to get it all on one page. Give one copy to the person in charge of helping you at the time of the picture taking.
TIP: Tell everyone in a large group "if you cannot see my lens then it cannot see you."
Friday, April 24, 2009
Uplift YOUR Economy
 In today's down economy we often forget about our own individual economy. That's right. Think about this: what is going on outside is drastically affecting your own world inside your home and life. I often forget that I still have to take care of me every once in a while. If I let the economy take me down with it then I am no good for anyone. Today I scheduled an in-home massage with certified massage therapist, Denise Plummer. If you live in the Santa Clarita or Castaic areas, she is the ONLY person to call. 661-714-6637 You will not find a better masseuse for the price ($65) AND best of all she comes to you. This is such an important thing for me because it saves me the travel time and I can continue "my" time with a hot bath right after she leaves. A tip for anyone that wants deep tissue like I get: right after the massage take a hot bath with Aveda's Soothing Aqua Therapy salts. Taking a 10 minute salt bath right after a massage will drastically help your muscles rid themselves of the toxins Denise works out of them. The best part about the entire experience: you feel refreshed, rejuvenated, and ready to conquer that crazy economy outside of your home!
AVEDA by Aveda For women Soothing Aqua Therapy Bath Salts--/16OZ(Skincare - Body Care)
Thursday, April 23, 2009
Wedding Wire Bride's Choice Awards

Wow! I won another award that I had no idea about! Wedding Wire (one of the fastest growing wedding planning websites) has selected me for their 2009 Bride's Choice Award. Wedding Wire is a great way to truly find out if the vendor is good or not because real brides give honest feedback on their services. At this moment, my company has the highest number of referrals thanks to all my super supportive clients. Here is what the award is from the mouth of Wedding Wire:
"The Bride's Choice Awards recognizes vendors from the WeddingWire Network that demonstrate excellent quality of service, responsiveness, professionalism, value of cost and flexibility. Unlike other awards in which winners are selected by the company, the Bride's Choice Awards are determined exclusively by recent newlyweds (brides and grooms) through surveys and reviews. Our winning vendors have set the bar high for this competition, demonstrating excellent service and expertise in their industry."
Thanks everyone for all your support!!! To check out my Wedding Wire site, click HERE.
Staying Healthy
As a wedding photographer it is imperative that I stay healthy. I have sinusitis which tends to give me problems during cold season. I literally used to go through an entire big box of tissues in one week. When I shot weddings in the past I would have to take a decongestant just so I would not have any issues, however I would shoot the entire day with cotton mouth from it drying me out completely. Two and a half years ago I stumbled on a product called Juice Plus+. Neither my husband, my 16 month old kid, nor I have been sick the entire time we have been on it. For me and Tim that translates to two and a half years of no colds or flues, and for Jacob his entire life. If you are interested in finding out more about Juice Plus+ and what it can do for you check out my referral page. I promise, it is worth your time in gold to research this stuff! To not being sick anymore! YAY!!!
Monday, April 20, 2009
Sigma 50mm 1.4 EX DG HSM Lens
 Technical Info:
Lens: Sigma 50mm 1.4 | Camera: Canon 1D MarkII
ISO 100 | f1.4 | 1/640 sec.
Last month I purchased the Sigma 50mm F1.4 EX DG HSM instead of getting the Canon 50mm 1.2 saving myself a bunch of money ($460 for the Sigma compared to $1,380 for the Canon) and potential headache. Click HERE to read more on the headache factor. Having used this lens for most of April I can honestly say I love it. The speed is good and the bokeh factor is so much better than that of the Canon 1.4. The only drawback was having fun with the little 58mm barrel size of the Canon 50mm 1.4 compared to the larger 77mm barrel size of the Sigma 50mm 1.4 when doing reverse lens mount macro shots. The 77mm is a bit too large to cover over the entire camera body opening and so you cannot get as clear and crisp an image as the the Canon (more light flair.) I am sure the same would be true for the Canon 50mm 1.2 with a 72mm barrel size, however I have not tried it in the reverse position.
Most comparisons you will read are between the Canon 50mm 1.4 and the Sigma 50mm 1.4 however, I feel that other than the aperture size, the Sigma 50mm 1.4 compares more to the Canon 50mm 1.2 due to size, mechanics, blade construction, reduced aberrations, focus methods, the lens coating methods, and the fact that it is weather sealed. All these important factors make the Sigma 50mm 1.4 a much better choice over the Canon 1.4 which is $400. Honestly, why would you NOT buy the Sigma for an extra $60.
I tend to buy all my lenses through Amazon because they have the best return policy and usually the best price. Make sure you test any lens you buy within the first 30 days to make sure you do not have any front or back focusing issues. (click the above headache factor link to learn more about focus problems with lenses.)
Below are a few links to get you to the Sigma Lens and the Canon 1.4 should you REALLY want to have the ability to shoot macro with it held inverted.
CANON USERS:
CANON 50mm 1.4
Canon EF 50mm f1.4 USM Standard & Medium Telephoto Lens for Canon SLR Cameras
SIGMA 50mm 1.4 for Canon Cameras
Sigma 50mm f/1.4 EX DG HSM Lens for Canon Digital SLR Cameras
NIKON USERS:
NIKON 50mm 1.4
Nikon 50mm f/1.4D AF Nikkor Lens for Nikon Digital SLR Cameras
SIGMA 50mm 1.4 for Nikon Cameras
Sigma 50mm f/1.4 EX DG HSM Lens for Nikon Digital SLR Cameras
Wednesday, April 15, 2009
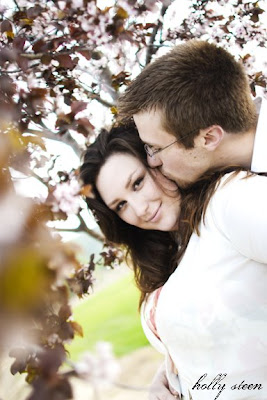
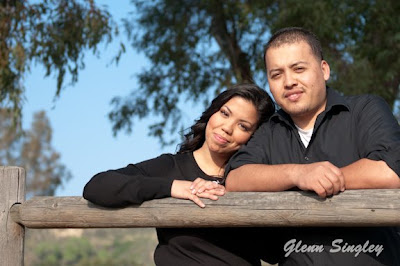
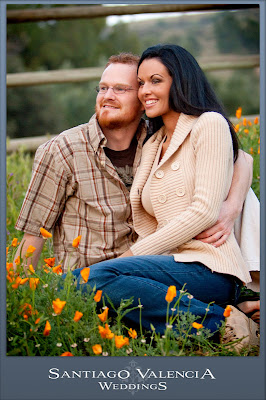
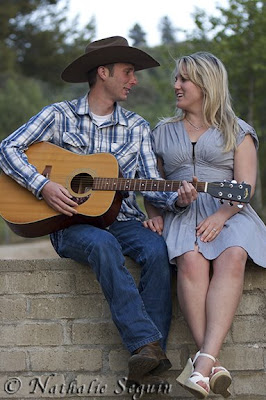
Engagement Shootout
A couple of weeks ago I hosted an engagement shootout with 24 photographers and 20 couples through my Photo 210 Wedding Photography class at College of the Canyons. Tonight I will be giving the critique on all their photos and teaching them how to archive and submit all the photos to their "clients." Here are a few shots from the day.


Sunday, April 12, 2009
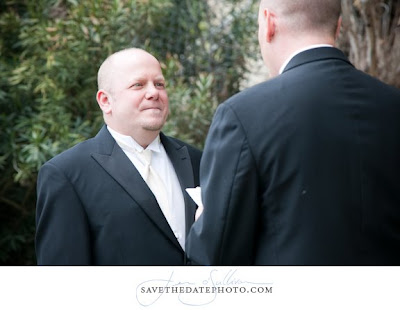
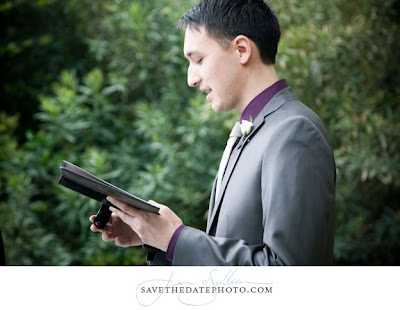
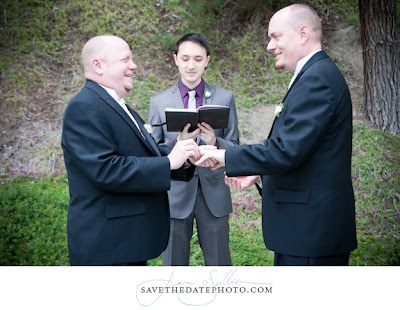
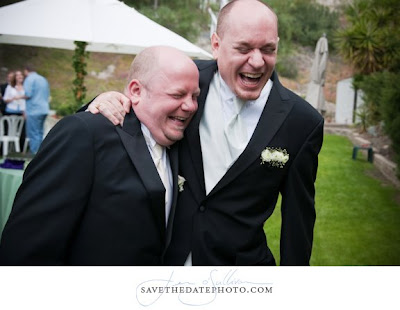
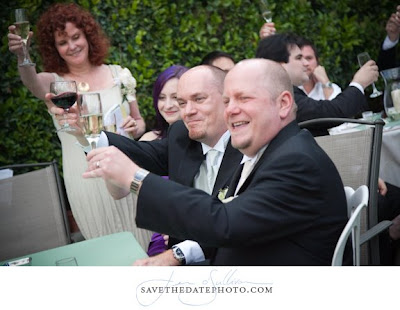
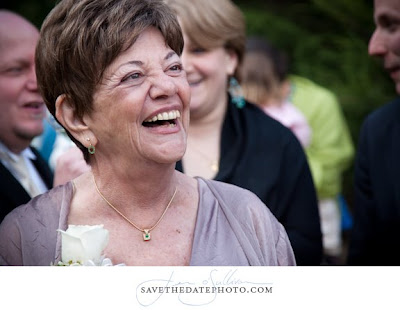
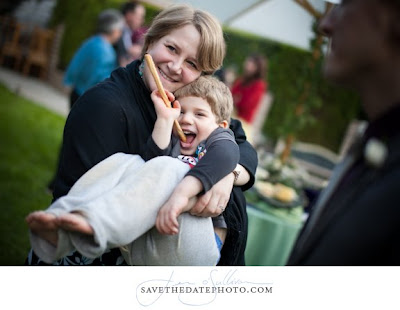
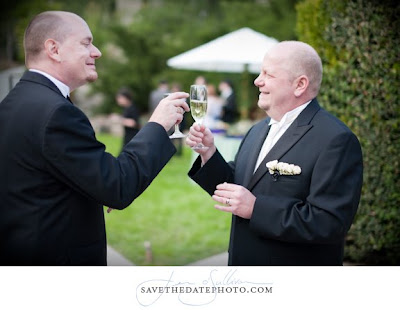
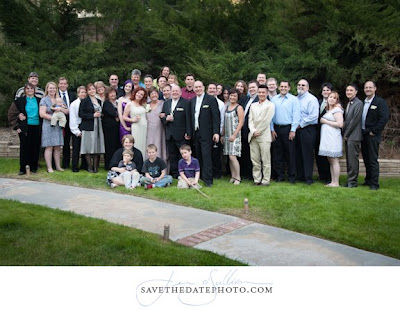
Jaysen and Eryc: One Happy Party
There are happy people, and then there are Jaysen and Eryc (and all their friends and family.) These people were so joyful throughout the entire party it made my job easy! Here are some of he great moments from the day.


Saturday, April 11, 2009
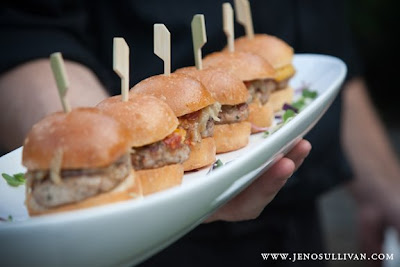
Jaysen and Eryc: The Food
Jaysen and Eryc sure knew who to pick when it came to their food. Cindy of RSVP is so good at what she does and I recommend her to everyone! Here is a sample of her handy work.


Subscribe to:
Posts (Atom)