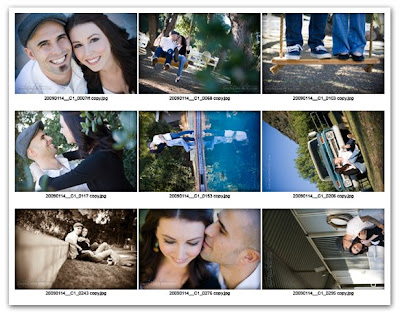
Here are some easy to follow directions on how to create contact sheets of your imagery using Adobe Photoshop CS3 and below. If you have CS4 you just open Bridge and under the "output" window you will create PDFs of all the images you want in contact sheets.
STEP 1:
Open Adobe Photoshop
STEP 2:
Click “File” and scroll down to “Automate” and select “Contact Sheet II”
STEP 3:
Under “Source Images” click the “Browse” button and select the folder where the images are that you wish to create contact sheets of.
STEP 4:
Under “Document” select the page size you would like to make (usually 8.5x11 for standard paper) with a resolution of 200-300dpi. I find that 200 is just fine for contact sheets.
Check the “Flatten All Layers” box.
STEP 5:
Under “Thumbnails” select the number of columns and the number of rows you would like and determine if you would like to “rotate for best fit” or not. Play around with this button to see which way you like better.
STEP 6:
Check the “Use File Name As Caption” box and select the font and size you would like. Make sure the font is small enough so none of your image file names get clipped. You will only see if this happens once the contact sheets are made. I usually use a 7 point font size for contact sheets with 4 rows and 5 columns and an 8 point fonts size for 3 rows and 4 columns.
STEP 7: Hit the “OK” button and watch as your computer automates the process. Once it is finished your contact sheets will all be open in Photoshop and ready to be saved.
STEP 8: Save each contact sheet by merging the layers (there will be a background layer and the one with all the thumbnails) and then saving it to the a folder in the original project folder labeled “Contact Sheets.” I like to automate this process too by creating an Action.
Click Here to Learn More Photography Tips and Tricks
To see more of Jen's wedding work go to http://www.jenosullivan.com


No comments:
Post a Comment